Friday, March 6, 2020

Pasta & Angel Food Cake: Round 2 ~ Day 19 THYCA LID

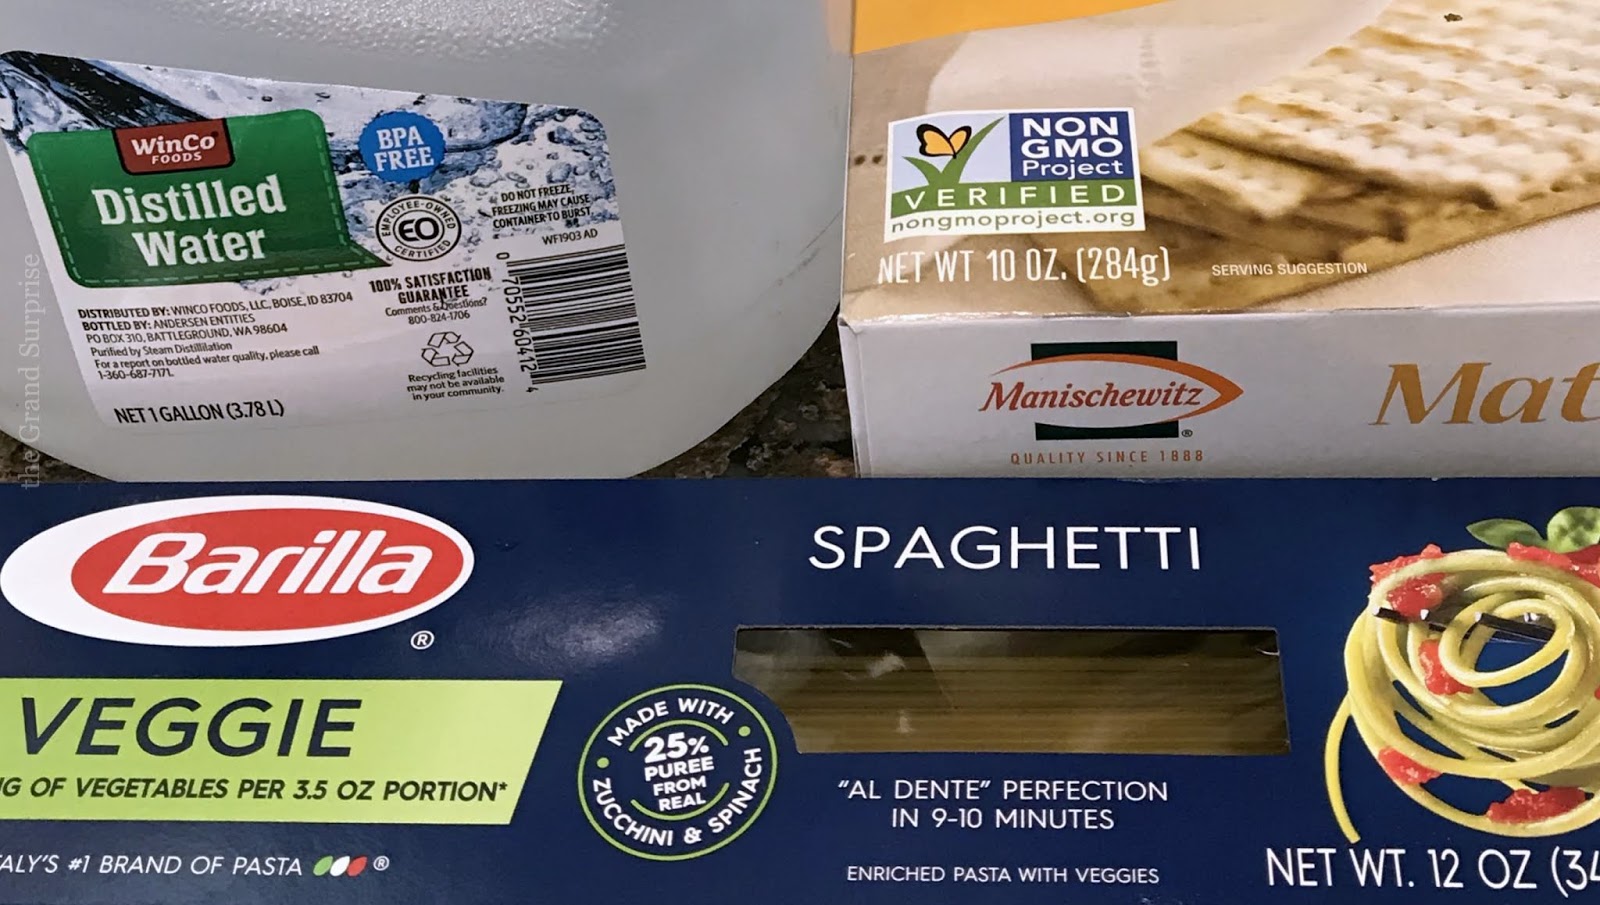
This is the week of appointments for Miss E's 2nd round of RAI scans and we are now on day three although she has actually been on the Low Iodine Diet 19 days. Preparing for the scans requires a trip to the hospital each morning this week so oatmeal, fruit smoothies, and egg white omelets {if there is time} with some coffee and/or tea made with distilled water are the best options for breakfast except for the day{s} that require fasting.
For our 3rd dinner since she has been home we decided on pasta. Some chunky Tomato sauce over some veggie spaghetti sounded good and we happened to have plenty of fresh vegetables to use. 
Once the veggies were chopped and ready this tomato sauce went together fairly fast however it needed to simmer about an hour to enhance the flavor and thicken a bit. 
While the sauce was cooking I made Angel Food mini bundt cakes. 
It does not take as long as you might think to make Angel Food Cake from scratch. And it tastes great! So light and fluffy and meets the LID requirements.
 I did have leftover batter which I put into a loaf pan and baked since that was easier than washing the bundtlette pan for another batch. 
The strawberries in the store are getting better as the season gets closer so I bought some for the cake. I just sliced them up in a bowl and sprinkled a little sugar on top. Then I let them sit at room temperature while I finished preparing dinner. 
Once we were finished with dinner and the kitchen was cleaned up I served the Angel Food Mini Bundt Cakes on top of sugared strawberries and drizzled the strawberry juice over the top. YUM!


print recipe
LID Angel Food Mini Bundt Cakes
by Jennifer Stull


Ingredients
  • 1  1/4 cups flour
  • 1 1/4 cups powdered sugar
  • 1 1/2 cups egg whites at room temperature *
  • 1 1/2 teaspoons cream of tartar
  • 1/8 teaspoon **NON IODIZED SALT**
  • 1 teaspoon vanilla  
  • 1/2 cup granulated sugar
Instructions

  1. Preheat standard oven to 350 degrees or convection bake oven to 325 degrees. Spray mini bundt pan with oil.
  2. Separate large eggs and place whites in the bowl of a standing mixer or large mixing bowl. Let sit   30 minutes or until room temperature. 
  3. In a separate bowl whisk together flour and powdered sugar. Set aside.
  4. Add cream of tartar, plain salt, and vanilla to egg whites. With whisk attachment beat egg white mixture on high for 4 minutes or until stiff peaks form. Gradually add sugar and combine.
  5. Switch to paddle attachment and with mixer on low add flour mixture to egg white mixture 1/2 cup at a time.
  6. Fill mini bun wells to the rim. Bake 15 - 20 minutes until light golden brown.

Optional: Sift powdered sugar over top of cool mini bundt cakes. Top with fresh berries.
* It will take approximately 10 - 12 egg whites.


print recipe
Low Iodine Diet PASTA PRIMAVERA
by Jennifer Stull


Ingredients
  • 8 fresh Roma Tomatoes, peeled and chopped
  • 1/2 large onion, chopped
  •  1 red pepper, chopped 
  • 4 cloves garlic, minced
  • 1/4 basil chopped or minced
  • 1 teaspoon dried thyme
  • 1/2 teaspoon **NON IODIZED** salt
  •  1/2 teaspoon red pepper flakes
  • 1 package of **LID approved** pasta
  •  **DISTILLED** water
  •  Olive Oil
Instructions

  1. Wash and prepare vegetables.
  2. In a large skillet add approximately 1 tablespoon olive oil, onion and garlic and cook over medium heat until translucent. 
  3. Add tomatoes, red pepper, basil, thyme, salt, red pepper flakes and 1-2 cups distilled water. Bring to a boil. Turn down heat and simmer until sauce thickens. Add more distilled water if needed. 
  4. Meanwhile, fill a large pot with distilled water and bring to a boil. Add Pasta and cook according to package directions. 
  5. Cover Pasta with Primavera Sauce and serve. 
Makes 4 servings


Happy Friday!

Thursday, March 5, 2020

THYCA LID Tacos & Snacks: Round 2 ~ Day 18

Grilled Steak Tacos and leftover chocolate Wacky Cake were on the menu for day 18 of the Low Iodine Diet. We had some leftover steak from our dinner the night before which we thought would be perfect on the Tacos.
Mr. Wonderful made his signature guacamole while I wrapped the steak and LID approved tortillas up in foil packets and put them in the oven to warm.
We also had leftover grilled vegetables so this easy peasy dinner was on the table in no time at all. However, we almost forgot about the UNPEELED potatoes which were mixed in with the grilled veggies from the night before.
Thankfully, Miss E is on top of things and remembered right before she began eating. Luckily the potatoes were easy to see so removing them was quick fix.  
 Then, just when we assumed we could eat, she asked if all the leftover steak had been wrapped up together.
It did not even occur to us when we were putting the food away the night before that her leftover steak should be kept separate as hers was the only one that could not and did not have butter melted on top after grilling. UGH, just when we think we have thought of everything!
The tacos were great but unfortunately hers ended up being the stripped down model.
The avocados have proved to be a great staple. The guacamole is wonderful on actually everything so she has been spreading it on Matzo crackers for a snack. 
Salt free almonds are approved too so those are a good snack as well.
Daily morning trips to the hospital to prep for the RAI scans, and quick trips to the grocery store to pick up a few LID food items here and there that we forgot or didn't think of keeps us busy each day. We made it through day 2 and ready for day 3. A pasta dinner is on the menu so I am hoping it goes together without a hitch this time.  

Happy Thursday!

Monday, March 2, 2020

THYCA LID Diet ~ round 2

It is hard to believe it has been almost 3 years since we started this Thyroid Cancer journey and a little over a year since we learned all about the Low Iodine Diet and began preparing restricted meals for the Thyroid Cancer Radioactive Iodine treatments. During that time we tried many recipes, made mistakes, learned a lot and kept detailed notes to help with the next RAI. Now, after about a 12 month break from the first RAI scans and treatment, it is time for round 2 and hopefully it will be much easier to prepare this second time around. 
Miss E was making her own LID meals at her place for the past couple weeks however she is now home for the RAI scans so in order to give her a break from cooking I am doing my best to prepare some well balanced and appetizing meals. We are stocked up on fresh fruits and vegetables, distilled water and other approved foods from the list and have our menus ready.
Our first dinner included grilled steak, focaccia bread and grilled fresh vegetables all of which were cooked following the LID guidelines. Since Papa Bear is the grill master around here he helped with chopping the vegetables and of course the grilling. Miss E did catch one small error before we ate which was the skin on the the petite assorted potatoes. Potatoes are okay to have but only if they are peeled. Fortunately she was able to pick out the potatoes and enjoy the rest of the vegetables. 
For dessert I used the same Wacky Cake recipe that I used last time. It makes the perfect size cake, is easy to make, tastes great and satisfies our sweet tooth. Our first LID meal for the week was delicious and almost mistake free which may have been the best part.

print recipe
Low Iodine Diet FOCACCIA BREAD
by Jennifer Stull


Ingredients
  • 1/2 cup olive oil
  • 2 cloves garlic - finely minced
  • 1 Tablespoon chopped fresh thyme or 1 teaspoon dried
  • 1 Tablespoon chopped fresh rosemary or 1 teaspoon dried
  • 1/4 teaspoon fresh ground pepper
  • 1 cup warm **DISTILLED WATER**
  • 2 1/4 teaspoons yeast
  • 1/4 teaspoon sugar 
  • 2 1/2 cups all purpose flour
  • 1 teaspoon **PLAIN or KOSHER SALT**
Instructions
1. Combine olive oil, black pepper, garlic, thyme and rosemary in a skillet or pan and warm over low heat until aromatic but before the garlic browns. Set aside.
2. In a large bowl combine warm water, yeast and sugar and let rise for 5 minutes. Add 1 cup of flour and 1/4 cup infused garlic-olive oil mixture. Stir until flour has moistened. Let sit another 5 minutes. Stir in remaining 1 1/2 cups flour and salt. 
3. Once dough comes together knead 10 -15 times until smooth. Transfer to oiled bowl, cover and let rise approximately 1 hour. 
4. Heat standard oven to 450 degrees or convection oven to 425 degrees. Use approximately 2 tablespoons of garlic mixture to oil 9 x 13 rimmed baking pan. 
5. Transfer dough and press down in pan. Use fingers to dimple dough and then drizzle remaining garlic mixture over top. Let rise 20 minutes.
6.  Bake 15 - 20 minutes. 


print recipe

Low Iodine Diet WACKY CAKE
by Jennifer Stull

Ingredients
  • 1 1/2 cups flour
  • 1 cup sugar
  • 3 Tablespoons cocoa powder
  • 1 teaspoon baking soda
  • 1/2 teaspoon **PLAIN SALT**
  • 5 Tablespoons vegetable oil
  • 1 teaspoon white vinegar
  • 1 teaspoon vanilla 
  • 1 cup cold **DISTILLED WATER**
Instructions
1. Preheat standard oven to 350 degrees or convection oven to 325 degrees. Sift together flour, sugar, cocoa, soda and salt in an 8 x 8 inch baking pan or dish. Mix thoroughly. 
2. Sift together flour, sugar, cocoa powder, soda and salt in an 8 x 8 inch baking pan or dish. Mix thoroughly.
3. Make 3 holes in the dry ingredients. Place oil in first hole, vinegar in second hole and vanilla in the third hole. Pour water over all and mix well. Spread batter evenly in pan and bake in the pan that the batter was mixed in. 
4. Bake 30 minutes or until center is firm. Cool. 
5. Sprinkle with confectioners sugar if desired. Optional: top with fresh or frozen berries.

For more THYCA LID recipes visit : https://www.thyca.org/download/document/231/Cookbook.pdf


Happy Wednesday!

Saturday, February 29, 2020

Coffee Klatch Charcuterie Board

Happy Leap Day!
It is not often that February 29th falls on Saturday so what a perfect opportunity to celebrate with family and friends. That is exactly we did today. We celebrated in the morning with family and in the evening with our close friends and neighbors. Since the evening get together was already planned I spent Thursday and Friday planning for our family Coffee Klatch.
We were meeting at our parents house so I needed something that could be transported easily. I had been wanting to make a charcuterie board and thought this would a good opportunity to try a breakfast/brunch theme. By Friday my plan had evolved into an Engagement board to celebrate the exciting news we received on Wednesday from our niece. 
After dinner last night I started to prepare by getting things laid out for the next morning however it just was not coming together as easily as I had hoped.  It was a bit frustrating so I decided to scratch the whole idea and do something else all together the next morning. 
It is amazing what a little sleep will do. I woke up really early, full of energy and ideas and everything started to fall into place. Yesterday I could not find a board or tray to use that I liked and this morning I knew exactly the one that would work with the theme. 
The muffins I had made ahead so all I had to make were the waffles and  some strawberry cream cheese spread for the bagels. Once everything was done I was ready to assemble it on the tray.
The diamonds and Hershey® Kiss toppers I had prepared yesterday so those were ready to go however the label for the syrup was a very last minute project.  The Starbucks® coffee drinks I had intended on using were not available in the original size so I decided to skip it. This morning however, a new idea came to mind. I happened to have empty Starbucks® bottles that I had saved just for something like this so I filled one of them with maple syrup for the waffles which worked great.
All the bottle needed was a label but by this time I was running behind so the fastest thing to do was make a label with my rubber stamps. Thank goodness for stamps. 
To keep the mini donut RINGS upright I just cut out a row from an empty plastic egg carton.
The best part is our egg cartons are clear so it was not too noticeable which was really nice!
At the last minute I added little extra love with pats of HEART shaped butter. It was ready to go. The Coffee Klatch Charcuterie Board {tray} was finished and without a minute to spare. I am so glad I stuck with it because it really was fun to make and a perfect way to celebrate February and an Engagement all in one at our Coffee Klatch. I look forward to making another Charcuterie Board soon.

Have a wonderful weekend!

Friday, February 28, 2020

sketch, draw, create: Giraffe

Several weeks ago my dad asked me if I would sketch a giraffe for him that would be used as a carving template for one of his new wood cutting boards. He has carved several cutting boards over the years, each one unique and with a different carving on the back.  All of them have been given away, one to our mother, each of his daughters and now he plans to begin making them for the grandchildren. I love a challenge, especially for such a special gift, so I was happy to oblige although part of me was a bit hesitant since I do not tend to draw many animals and have never tried drawing a giraffe. 
The only request he made was that I use the cutting board he made for me as a guideline for the shape and size of the surface area that he needed. Other than that he left it to my imagination to figure out the giraffe. So, before I began, I placed the cutting board on a large piece of paper and traced around the outer edge. I was now ready to start sketching.
After giving the details a little thought my first idea was to sketch a curled up Sleeping Giraffe so I got to work. Once I had drawn the basic outline I emailed a picture of it {which you can see below} to find out if he thought it would work before I continued. Come to find out he wanted just the head so it was back to the drawing board, so to speak. I flipped my paper over and started again. 
Again, I drew an outline, this time of the head only, sent him another picture and this time I got the green light to move forward. The details took a few more days since I did not have as much to time spend on it however it was in the mail about a week later. Before I mailed it though I did take a few pictures and I am so glad I did because....
...the following day it occurred to me that I could edit and add graphics to my drawings using procreate so I immediately started enhancing my giraffe sketch. It was so much fun to add borders, arrows, words and a grid. 
So much fun in fact that I did it to both drawings. 
And even added spots to the Sleeping Giraffe which I had not done on the original before the plan changed.
So there you have it, my little sketch, draw, create adventure. Once the cutting board is finished I will be sure to post an update. 

Happy Friday!

Wednesday, February 19, 2020

cookies & cakes from the HEART

Valentines Day was actually celebrated over the weekend at our house because Mr. Wonderful is a basketball referee and he had games on Friday night which of course was the actual holiday. So now, I am finally back to share the happy HEART desserts I made.
First I made a batch of sugar cookies, cut them out and personalized them with my cookie stamps. An edible Valentine is always a winner. 
To finish the edges of the baked cookies once I made a little icing and piped it around each cookie to make them extra special.  
The heart sprinkles were added just before baking to give the cookies a pop of color. 
February is a very special month in our family as we have Wedding Anniversaries to celebrate as well. And not just one but two anniversaries! 
For our Valentines Dinner for Two on Saturday I made some cute Valentine Petit Fours. Since I did not have a lot of time I decided it would be faster to use a Sarah Lee frozen pound cake for the base. However, my plan was almost ruined when I discovered my heart shaped cookie cutters were all too large. Well, as disappointing as that was, it actually inspired me to come up with another way of cutting out the hearts. As luck would have it, I found an old plastic multi~heart jello mold in my kitchen that was just the perfect size. I was able to break off one of the hearts and use it as a cookie cutter. The first attempt to cut a small heart shaped piece of cake did not work out well as it did not drop out as easily as expected but,  with a little flour and a strip of wax paper the little cakes finally came out of the mold perfectly. Once they were all cut I dipped them in warm chocolate frosting, placed them on baking rack to firm up and then sprinkled them with hearts. 
We may have been a day late in celebrating however it gave me time to make a few more Sweets treats for my Sweetie! 

Have a wonderful Day!

Related Posts Plugin for WordPress, Blogger...