Showing posts with label wedding. Show all posts

Wednesday, July 10, 2024

Wedding Reception Table Favors

This table favor was fun to put together for the wedding reception of our youngest son and his new wife. The reception was held after their honeymoon in her family’s backyard and I was asked to bring table favors which is something I love to do. It took a few days to narrow down the ideas and then it finally came together when I discovered this game.

A National Park Trivia game seemed like a great choice for the tables. It was interactive and would be a great conversation starter. There were just enough cards in the box to package four for each place setting so my next decision was how to bundle them. So many ways to do it although my vision was something more outdoorsy and a bit rustic with enough room to put something’s else with it but did not quite know what. 
That is until I discovered this!


After checking out all the traditional edible items such as mints or candy of some sort, I ran across this trail mix and loved the idea. The packaging was fun too so Trail Mix it was!
To package it all together I bought these rustic burlap pouches with a sheer fabric window in front  so that the cute National Park Trivia Cards would show through, plus, enough room for the trail mix with the cute directional sign! (I love a theme 😉)
 They were perfect. 
The tags were just right….simple, easy to stamp and tie on the little bag.
Easy Peasy wedding table favors!

Happy Wednesday!
                                              

Tuesday, August 30, 2022

P&B Wedding Day Dessert :: from farm to table

Why not start with dessert?! Our Favorite Middle Son was married a week ago and there is a lot to share so just for fun we will begin with the sweets.
These homemade individual cobblers were a special request for their Backyard Wedding Reception. They are one of the grooms favorite desserts so P&B asked if I would mind making my Blackberry Cobbler, { AKA: Wedding LOVE Cobbler } which is what they named it, for their reception dessert in lieu of cake. Of course the answer was YES so they went to Hoffman Farmswhich happens to be our favorite farm for U-pick, and handpicked all the berries for the cobblers. 
The day before the wedding I made 60 individual blackberry cobblers using our family’s favorite recipe and made in two separate batches.
These disposable terra cotta tins with lids were just the right size, color and perfect for serving.
The cobblers were arranged on an old desk using terra cotta flower pots as a cake stand. I sewed a simple tablerunner to match the wedding colors using some fabric given to me by my mother, which  of course made it extra special. Above the table I strung a banner of assorted black and white photos of the love birds.
Mr. Wonderful cut a board to fit in one of the drawers to make extra serving room for more cobblers.
The little cobblers turned out great.
Due to the warm weather and to keep things simple we used canned whipped cream and let everyone add that themselves as desired.
The Wedding LOVE Cobblers were a hit and a perfect ending to a perfect day!

Happy Tuesday!

Saturday, January 2, 2021

Engagement Card ~ with 3D box

A little DIY card to celebrate a big, exciting announcement! 
This 3D ring box was fun to make and was perfect for this special engagement card.
Since I do not have a template cutting machine I designed a box pattern and cut it out by hand. 
Once the box was assembled I added tissue paper and a party favor ring and then embellished the background with sequins.
Now that I have worked out all the details the next 3D box card should go together much easier and a little faster. This was such a fun card to make that I  can hardly wait to try it again using some other themes. 

Happy Saturday!

Wednesday, October 28, 2020

Rustic Wedding Chalkboards: part 2

Barn Weddings and chalkboards are a great combination in my opinion and I was so excited when asked to do chalkboards for our nieces barn wedding. That was back in August when we still had some leftover pallet boards from the bridal shower so I mentioned that if they would like the look of pallet board framed chalkboards I could check with the hubs about making a few. They did like the idea, he said he would be happy to make them and the wheels started turning. The chalkboard construction did not take long. He made the large ones first and as time went on new signage ideas popped up and more chalkboards were made.
The large pieces of chalkboard had to be cut down a little which left perfectly sized pieces for smaller chalkboards so nothing went to waste. 
Once we arrived at the ranch we headed to the barn and set up the chalkboards in the sitting area and then looked around a little while we waited for further instructions
There was still a little smoke in the air from all the recent fires but the view was still amazing. 
Once we had the layout it did not take much time at all to get the chalkboards in their proper places.   
The small "puzzle" chalkboard was in the entry area near the guestbook puzzle to remind people to write their names and messages on it. 
This one was pretty self explanitory.  
So those were the large chalkboards and one of the little ones however, there are still a couple more to share.  They were made for the fun dessert table and that post will be here soon along with another really cute DIY sign!

Happy Wednesday! 

Friday, October 2, 2020

DIY rustic chalkboards

This seems to be the year of pallet board projects at our house and the latest is chalkboards. My sister wanted some chalkboards for my niece and her finance's upcoming wedding which will be at a horse ranch so I volunteered and then "roped" the hubs into helping too. Of course he loves to help and any project that involves tools is always a winner. Pallet boards seemed like the perfect rustic frame for the chalkboards and we were lucky enough to find another stack of them in all sizes. The best part is they were free just like all the others have been. 
The previous chalkboards Mr Wonderful has made have only been one sided however this time the only thing he could find were sheets of reversible chalkboard which means the opposite side is a dry~erase board which is fun. He decided to change his frame up to accommodate the double sides by making it tongue and groove which gives both sides a nice finish so that you could hang it either way.
He cut each of the boards 2' x 3' which left a few smaller boards that he also framed.
Temporary legs and easel stands were added to make them easy to place wherever they are needed and can be easily removed if desired. 
We have had some birthdays recently so I broke in one of the new small chalkboards. 
It was so fun that I doodled on another one. 
The messages for the large chalkboards are almost finished. The wedding signs tend take a little longer than just my usual boards since I draw the design first with regular chalk and then go back and use a chalk pen. Once they are finished I will be be back to share more of our chalkboards and some other really fun wedding projects we are working on. 

Happy Friday!

Monday, June 15, 2020

Wedding Face Mask

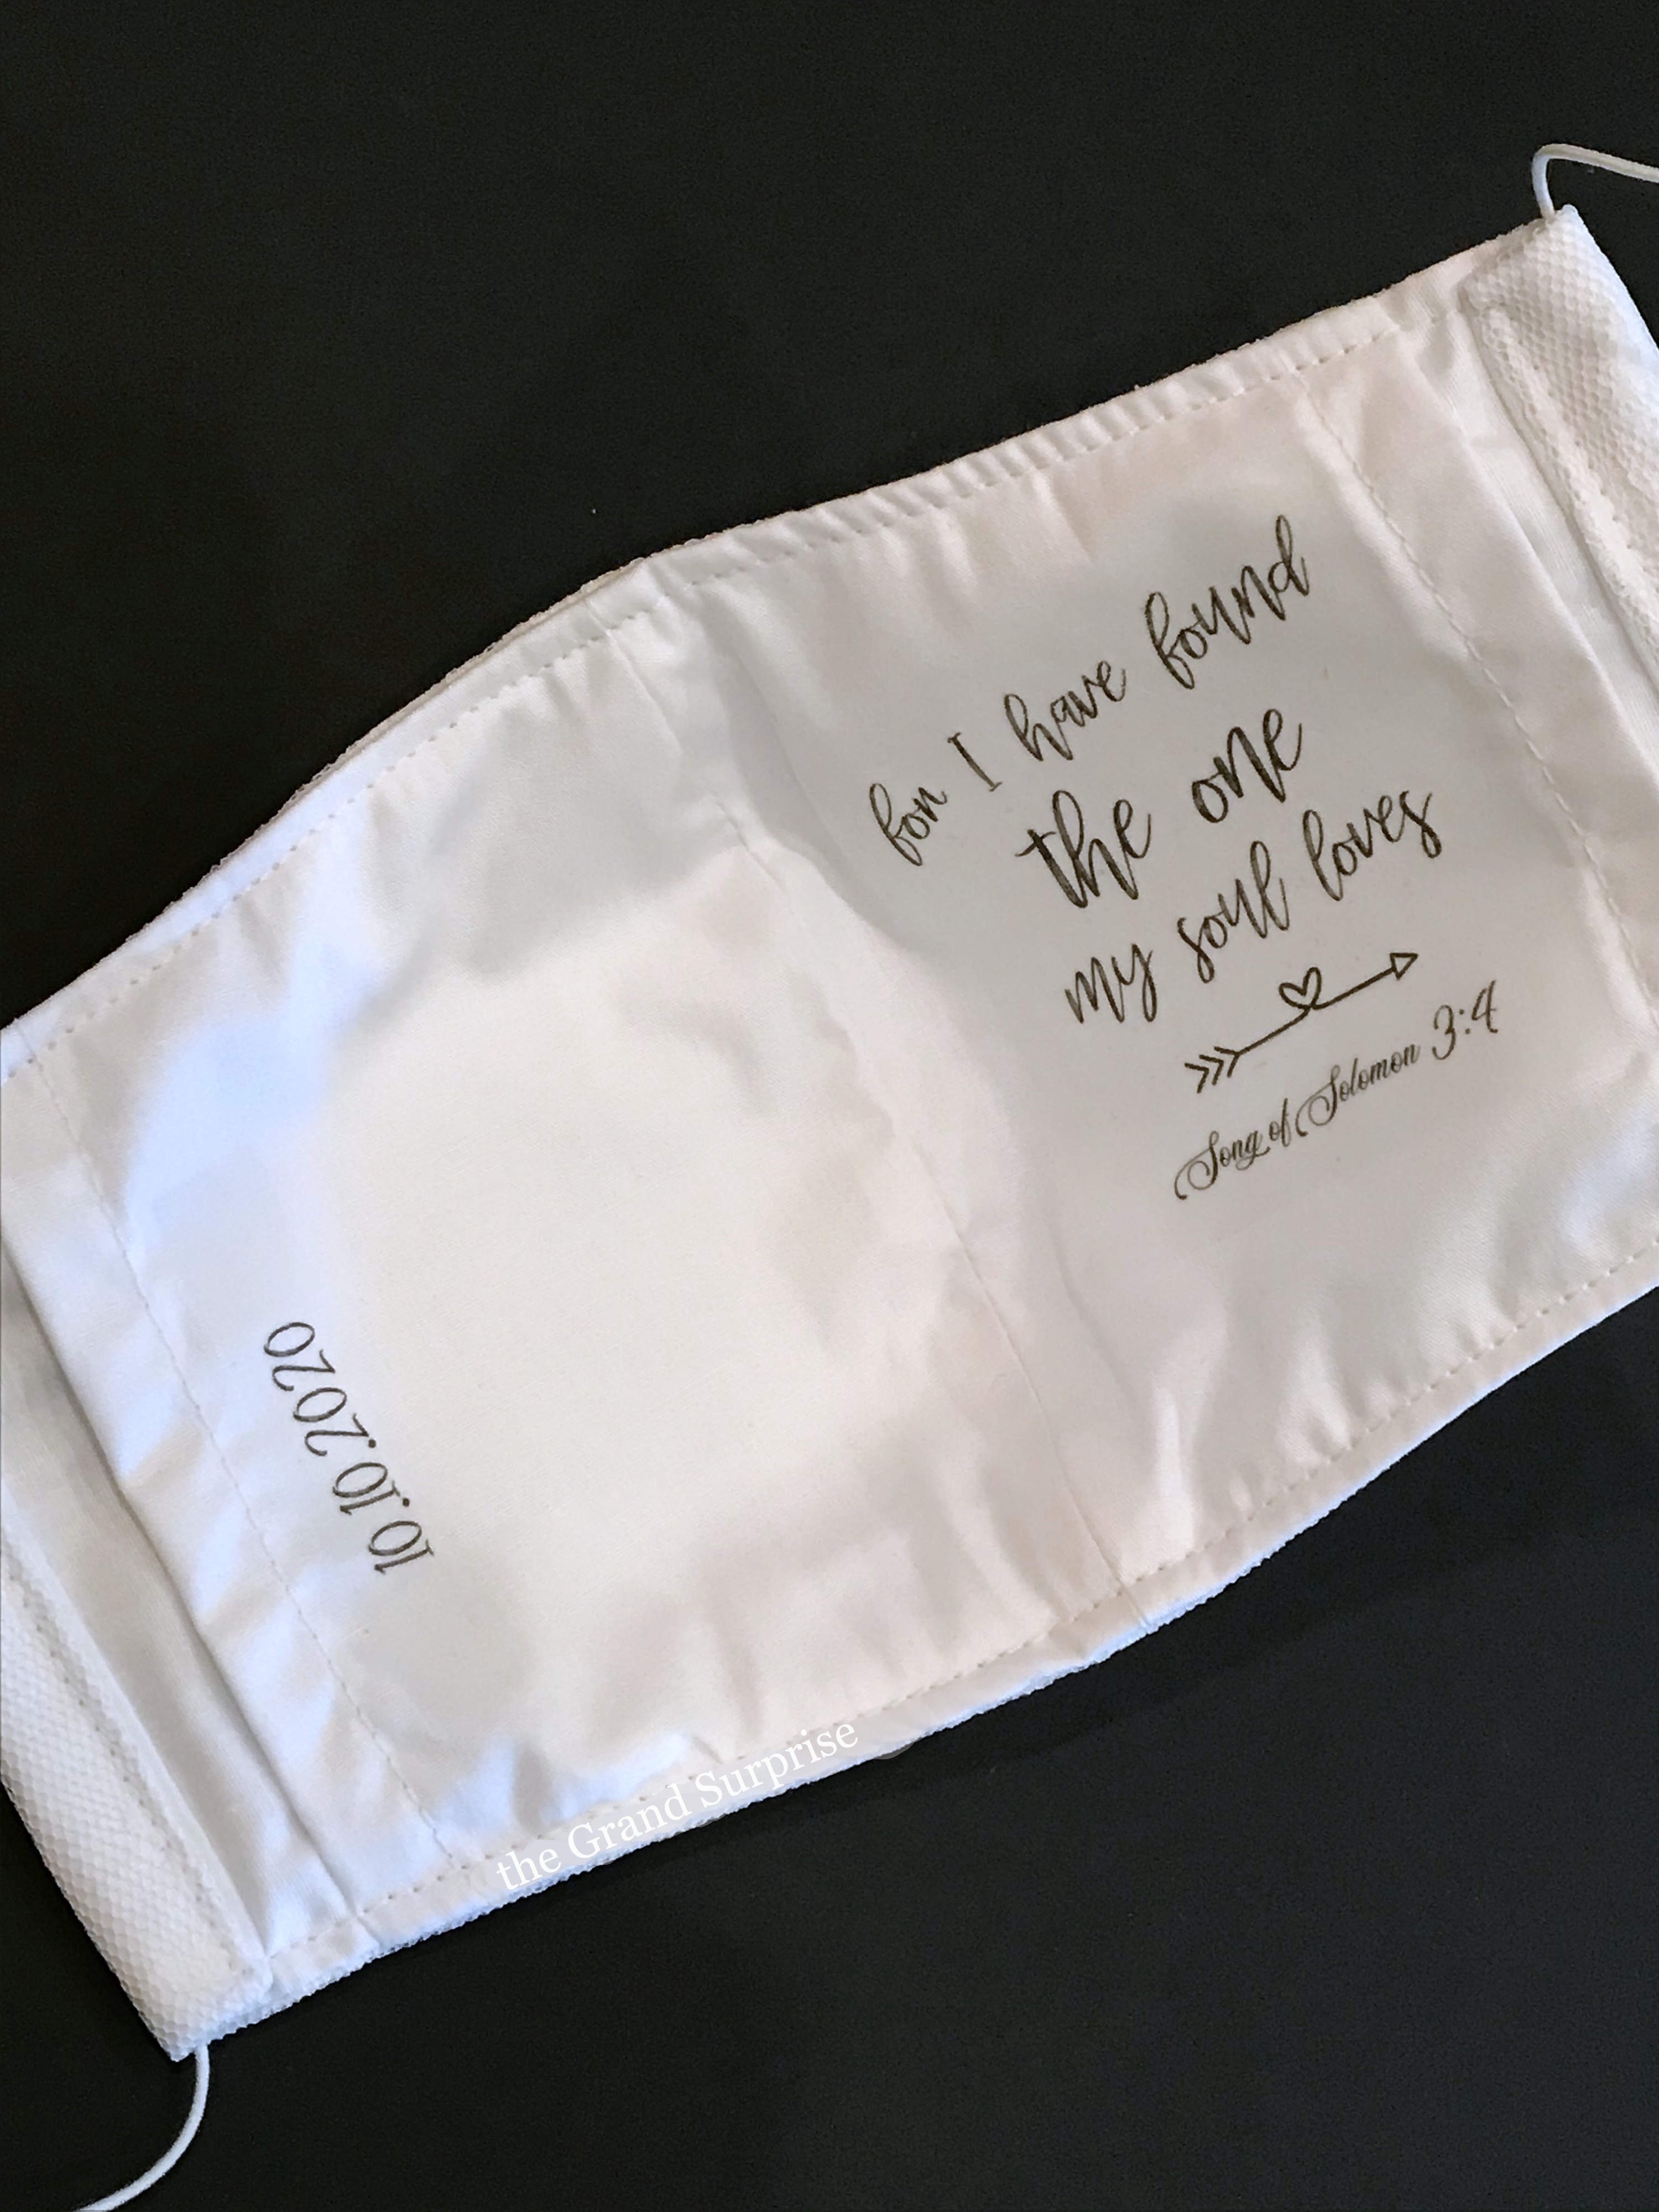
This new face mask is actually my second Wedding version. The first Wedding Face Mask I made had a lot more embellishment and sparkle so this time I was going for simple elegance.
This one also has a filter pocket on the back and includes a special verse and their wedding date.
Hidden inside the filter pocket is "something old" which is a white family heirloom hankie. She could either leave in it the pocket, carry it during their wedding or do with it whatever she chooses.
Hopefully face masks will not be needed by the time their Wedding Day is here but if they are she will be prepared.  

Have a wonderful Monday!

Thursday, February 19, 2015

Valentines Day Wedding { Willamette Heritage Center at the Mill }

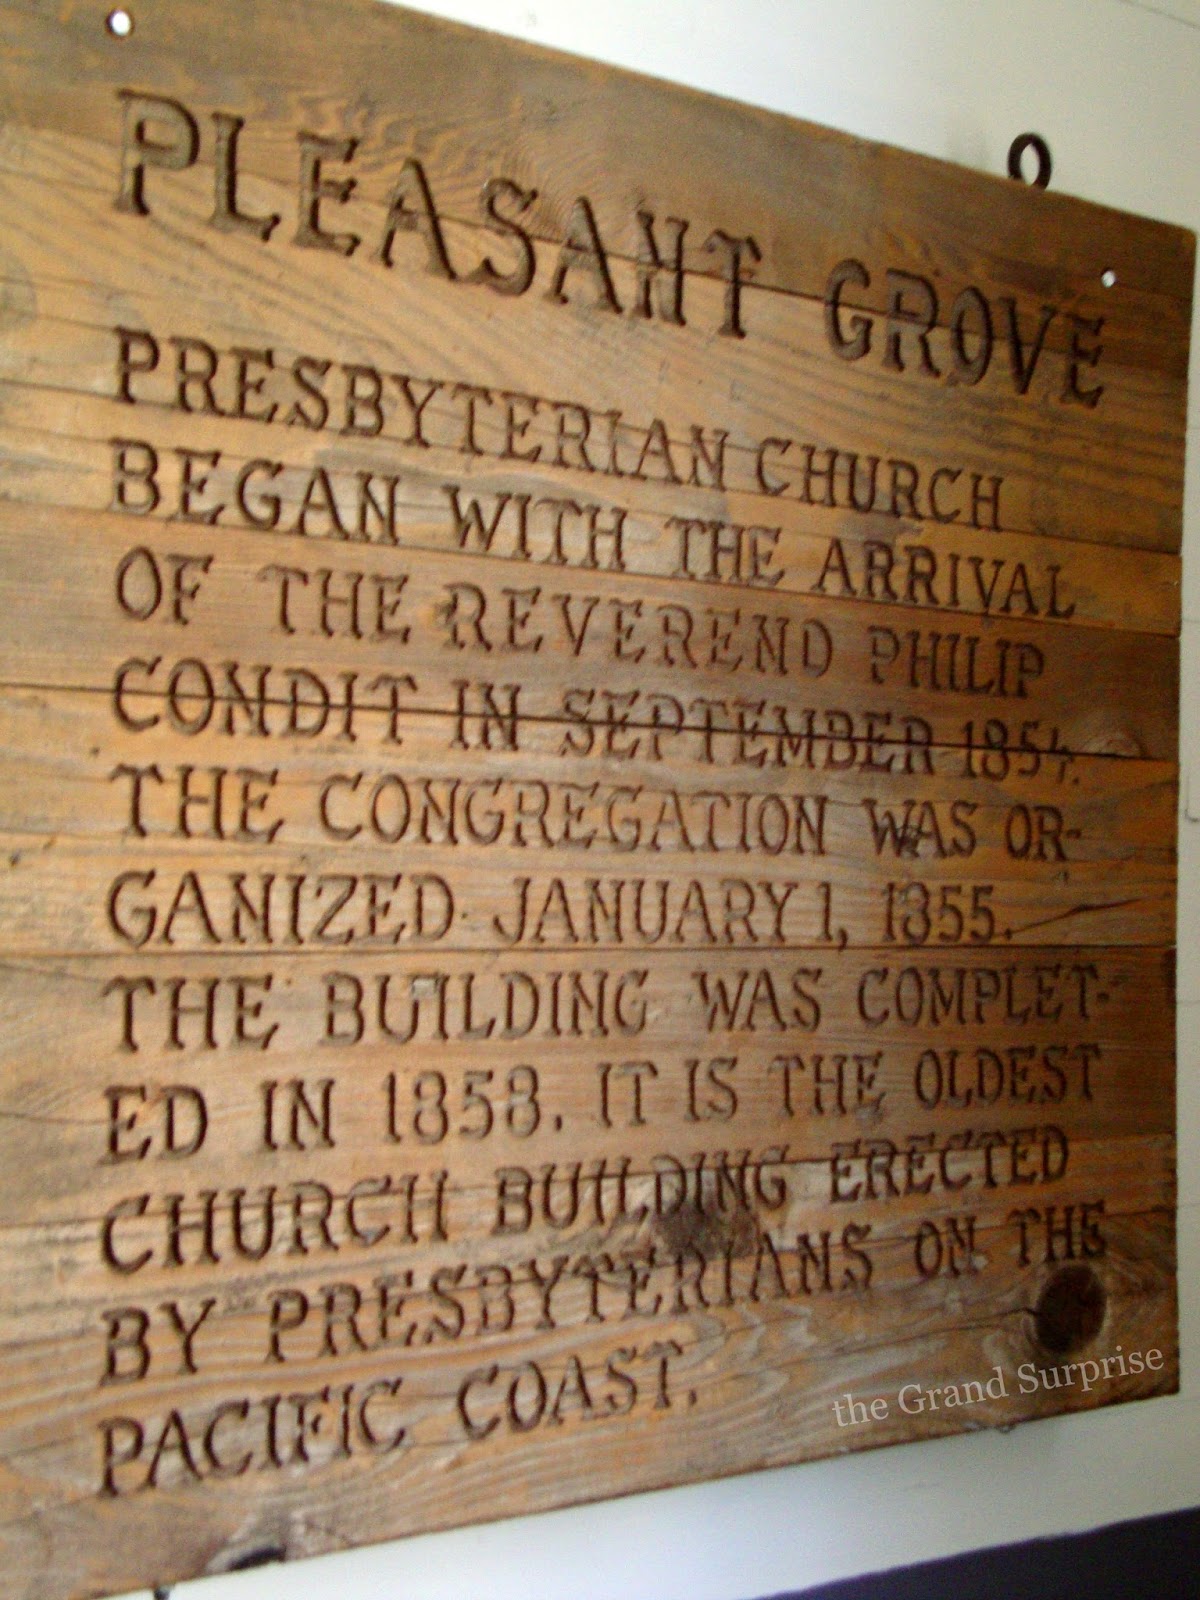
Pleasant Grove Presbyterian Church
Last Saturday we attended our nephews Valentines Day Wedding. 
The bride and groom chose this charming little church for the ceremony. 
Before the wedding began we enjoyed delightful music provided by a harpist while being entertained by two playful squirrels giving chase along the branches in the trees outside the church windows. Of course the squirrels were much too fast for my slow little camera shutter.
After the ceremony we walked to the 
Mission Woolen Mill
Dye House
for the reception and a lovely luncheon.
The tables were set with layered linen tablecloths and mismatched antique china.
An assortment of Cupcakes & Tarts were served at the dessert table.
Perfect weather for a bubble send off for the newlyweds. 
A beautiful day 
for a 
lovely wedding
♥ ♥ 
Congratulations J & M!
Related Posts Plugin for WordPress, Blogger...